2Build a Profile Support
Please note, this page is only for users who are still using 2Build a Profile. We would recommend our free upgrade to Evidence Me.
Add classes and learners
There are two ways to add classes to your websuite.
Option 1: Recommended
CSV
You can now upload your new classes using the new CSV upload feature. Click here to download our CSV template and instructions. To upload the CSV template, please follow the below instructions:
- First input your class information into the CSV template.
- Log into your websuite
- Please click on Class Setup to view your classes.
- Click on Class Setup and then click on the ‘Import Learners’ tab
- Please click the ‘Choose file’ button and select your CSV File
- Click ‘Upload to 2Bap’ button
Your new classes will now be visible on the Class Setup section.
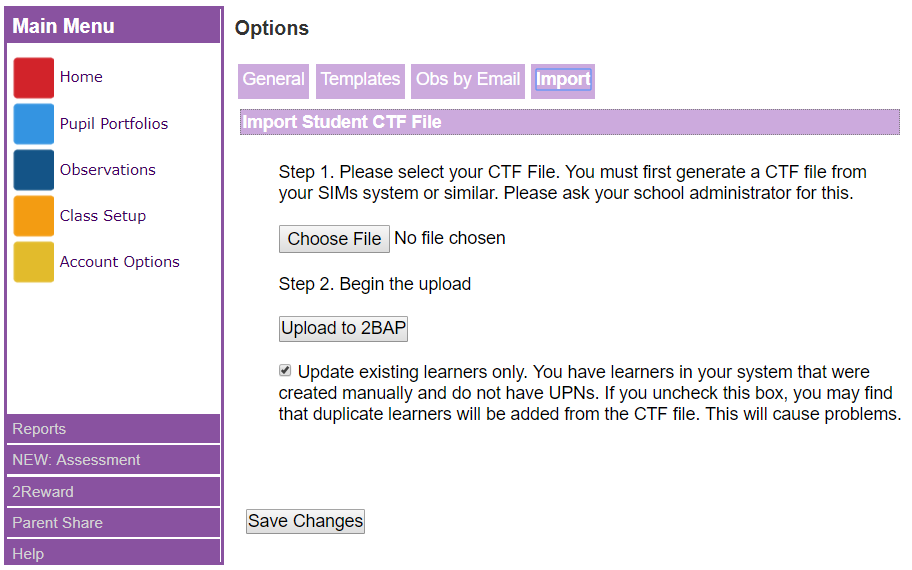
CTF
You can add learners by uploading a CTF file, to do this please make sure your CTF file is downloaded to your computer. When generating a CTF file you should only include classes that you wish to add and/or update learners in 2Build a Profile. The CTF file will need to include the following information for each learner:
- First Name
- Last Name
- DOB
- UPN
- Gender
- Year Group
- Primary Contact email address (if Parent Share module in use)
- First, generate a CTF file from your SIMs system or similar. Please ask your school administrator for this
- Go to the websuite: www.2buildaprofile.com
- Enter the licence details from your welcome email
- Click on Class Setup and then click on the ‘Import Learners’ tab
- Please click the ‘Choose file’ button and select your CTF File
- Click ‘Upload to 2Bap’ button
- Please click on Class Setup to view your classes, press Ctrl and F5 to refresh your screen

Click here to view our Websuite Set-up Video
If you do not have the system to generate a CTF file please follow the instructions from option 2 below.
- Go to the websuite: www.2buildaprofile.com
- Enter the licence details from your welcome email
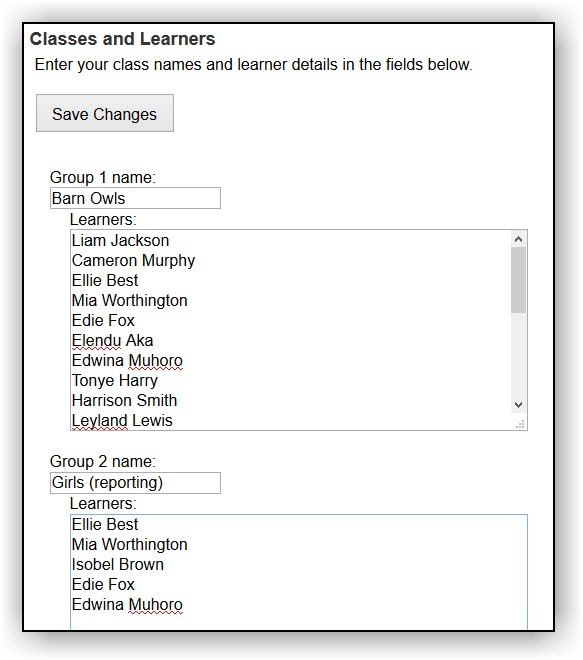
- Select “Class Setup”
- Click on ‘Click here for quick entry’ to manually input your classes and learners
- Add a group name (ie: class name) and then copy’n’paste your learner names into each class
- Click on “Save changes”- this will give each learner their individual 'learner ID'
Click here to watch the Option 2 setup!
To find out how to add individual children or how to add children's D.o.B in the new class set up screen, please click here
