2Build a Profile Support
Please note, this page is only for users who are still using 2Build a Profile. We would recommend our free upgrade to Evidence Me.
Step 1: Set up your Users
- Log into the Websuite using your Admin user details
- Go to Account Options
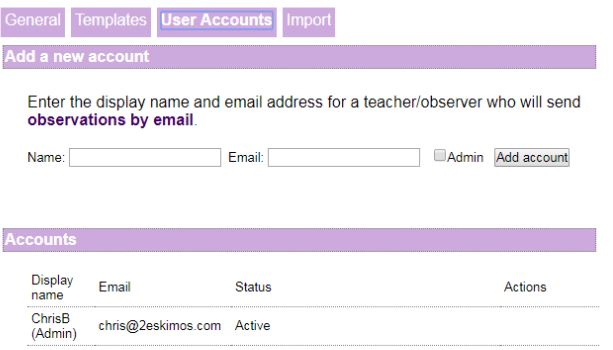
- Click on User Accounts
- Enter the new User's name and their email address (this will become their username)
- Click Add Account
- The new user will then receive an email to set up their own password, once this is set they will be able to log into the App and Websuite
- Repeat for all users
Step 2: Set up your classes (on your computer)
- First generate a CTF file from your SIMs system or similar. Please ask your school administrator for this
- Go to the websuite: www.2buildaprofile.com
- Enter the licence details from your welcome email
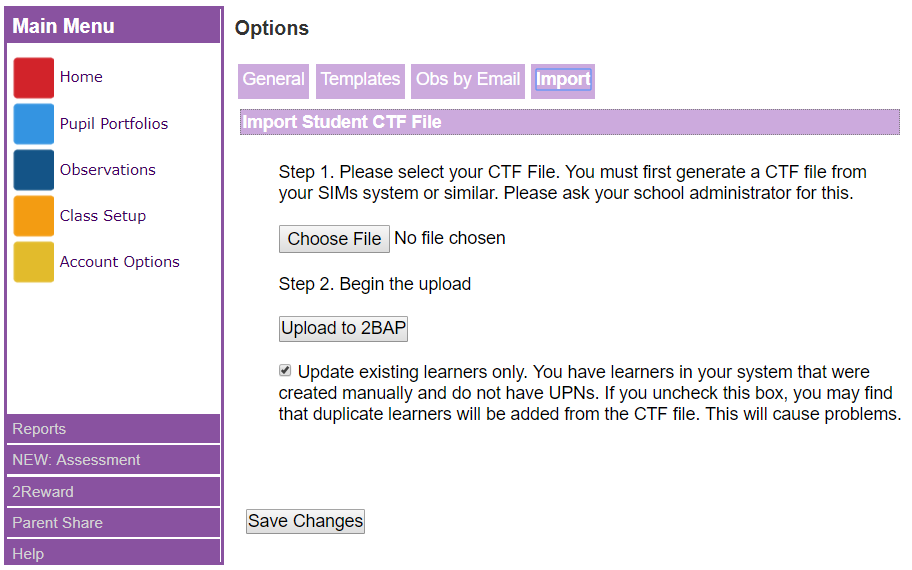
- Click on Class Setup and then click on the ‘Import Learners’ tab
- Please click the ‘Choose file’ button and select your CTF File
- Click ‘Upload to 2Bap’ button
- Please click on Class Setup to view your classes
PLEASE NOTE: If you do not have a system to generate a CTF file, please click here and view Option 2 for an alternative way to add your classes!

If you’re using 2Build a Profile without a tablet please click here to skip straight to Websuite Observations
Step 3: Download the app (on your device)
Apple: Go to the App store and search for '2simple EYFS' in the App store.
Android: Click HERE and follow the android installation guide.
Download 2Build a Profile app to your device.
Step 4: Set up the app (on your device)
- Open the app on your device.
- Tap the cog in the bottom left of the screen to access settings. Enter the licence details from your welcome email and click log in.
- A message will appear asking if you would like to download the latest class list from the websuite – say yes. (version 1.10+ only)
- Scroll to the bottom of settings and turn ON 'Use multiple devices'
- Turn OFF 'Use this as the master device'
- If you are not prompted to download the class list, go back out of settings and tap the top of the post-it note to go to the classes and learners screen and click ‘refresh’ in the bottom left corner
- Your device has been automatically synchronised with the websuite!
Step 5: (If you have time!) Take profile photos for your learners- you can always add these later
- Click on the post-it note to go to the classes & Learners screen on your app. (You can now see all your classes)
- Select “show all experiences for a learner”.
- “long-press” on a child.
- Click “take portrait photo”.
- Repeat for the rest of your class.
- The pictures will be automatically sent up to the websuite to update the children’s portfolios.
Step 6: Take an observation (on your device)
- Select your class from the classes and learners screen (show all experiences for <class name>)
- Click on the camera icon.
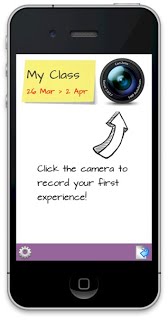 Take a picture.
- Click on the post- it note to add some notes ( You can dictate these if your device has speech recognition software e.g SIRI).
- Click “add learners” and select the children in the observation.
- Click “Add objectives” and select the objectives covered.
- Only available with Parent Share: If you want to share the observation with the children’s parents just click “Parent Share”.
- Click finish.
- In a couple of moments you will see a green dot appear in the corner of the observation. This means that the observation has been uploaded to the websuite and is safe and secure on our servers.
Step 7: Generate a report (on your computer or device)
- Go back to the websuite www.2buildaprofile.com
- View and edit your observation's in 'Observations' and make any changes to the notes/learners/objectives. Remember to 'save changes!'
- Click on Pupil Portfolios.
- Select a child/class
- Choose the date range for the report that you want to create.
- Choose PDF or Word. If you choose Word you can edit the final report.
- Click submit
